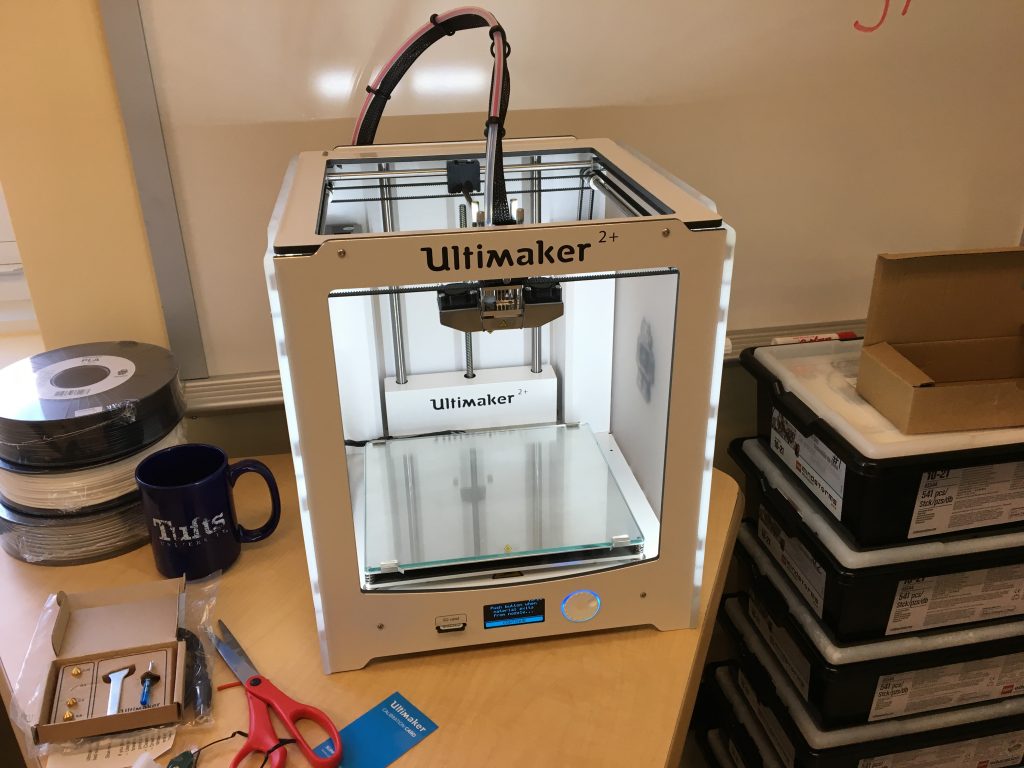
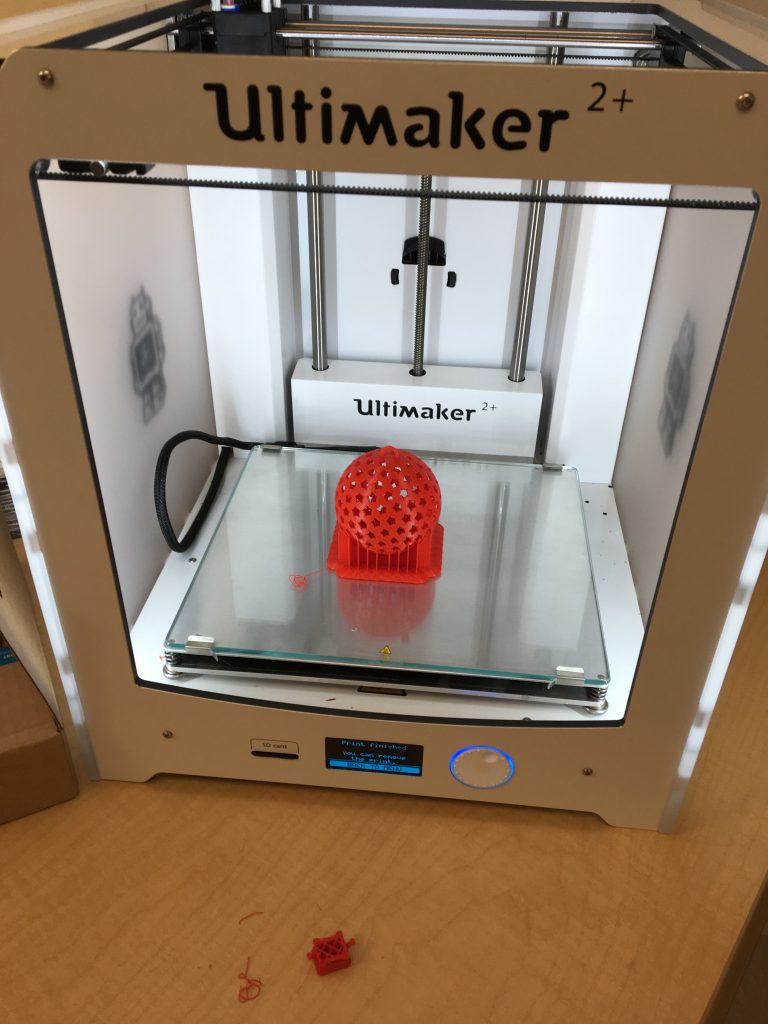
Ultimaker 2+ 3D Printer before it was ever used
BACKROUND
I recently purchased an Ultimaker 2+ 3D printer with some of my prize money from winning a Presidential Award for Excellence in the Teaching of Math and Science. This is now part of the elementary Maker Space I have been creating the last 2 years with seed money from the Williamsburg PTO. Kids can come to the Maker Space on Fridays at recess time if they desire. Students are instructed that they can come and design, create, or invent something. This includes coding. I do tell them it’s not for playing educational apps and games. Typical choices have included 3D printing, LEGOs, additional LEGO robotics, LittleBit circuits, duct tape creations, taking apart old computers, code.org, claymation, Scratch, and Scratch, Jr coding. In this blog post, I am going to focus on some lessons learned and some observations of 3D printing.
STUDENT RESPONSE
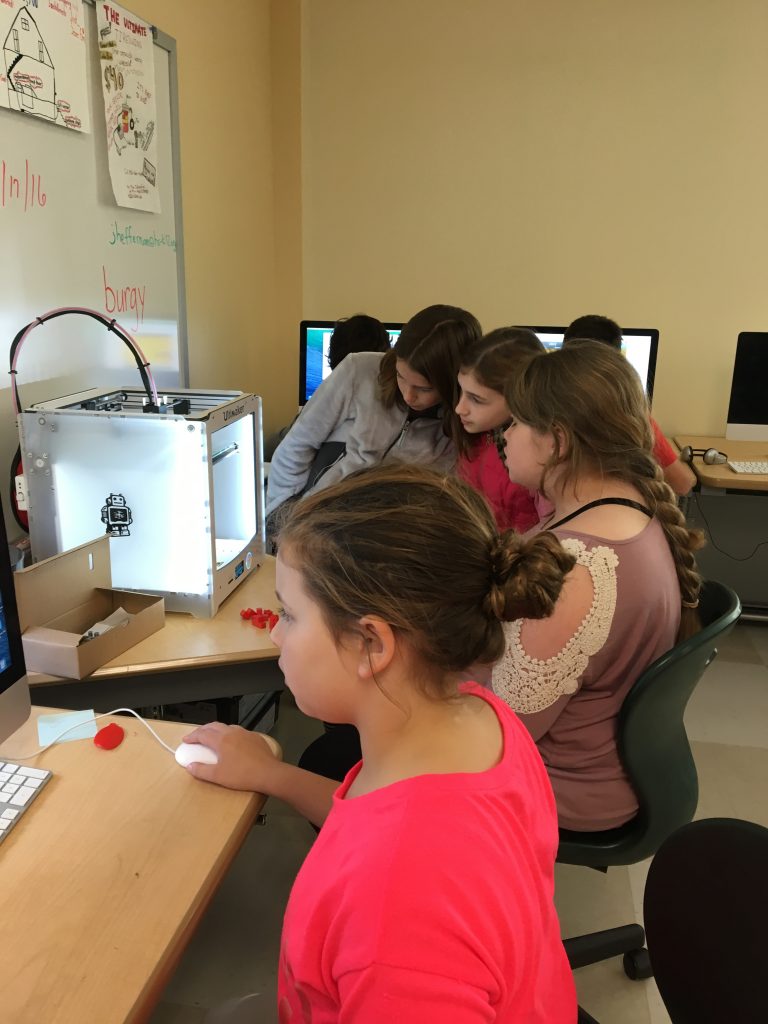
Students were fascinated and excited to have a 3D printer from day one. Most students had at least heard of 3D printing. After the initial setup, I decided I would start having elementary students use thingiverse.com to print out existing designs. Thingiverse is a web site where users submit their own designs that other people can print out and/or modify. Thingiverse also has an option (if so designed by the person who submits the design) to configure the design. For example, students could print a keychain with their initials on it. I figured it would be best to start with printing existing designs and work our way up to creating our own objects, which I understand, is a bit tricky for elementary students. I also figured that a major goal should simply be to experience the ability to print out objects.

Student learning TinkerCAD to create her own design. This student is very creative and a huge LEGO fan. She has been super motivated to come to Maker Space and pursue her own creative ideas.
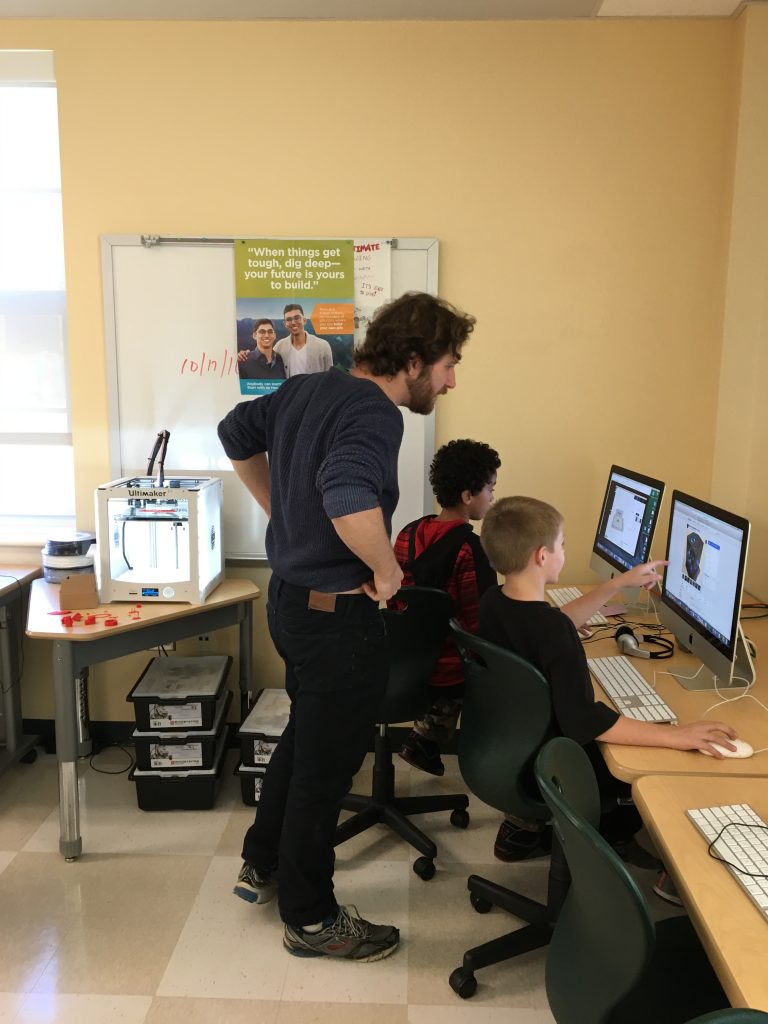
The student above is learning how to create her own object using https://www.tinkercad.com, which is a web site where original designs can be created. It includes numerous tutorials. I was very excited to see the first student created design print out, as was she. I did tell her that we would be learning together and she accepted that. I have stressed that point throughout. It is important that students know that sometimes designs do not print out successfully and that we are learning 3D printing together.
Epic Fail! We have not had success to date printing out models of cars or Imperial Destroyers. When the model detaches from the glass, this happens. It could be that the PLA plastic we use (no fumes) cools and does not stay attached with larger models. We may have to raise the glass temperature for these larger models or use some kind of adhesive substance. Printing a build plate adhesion layer, which is a thin layer of plastic that surrounds the print and can be easily removed later does seem to help but not enough in some cases.
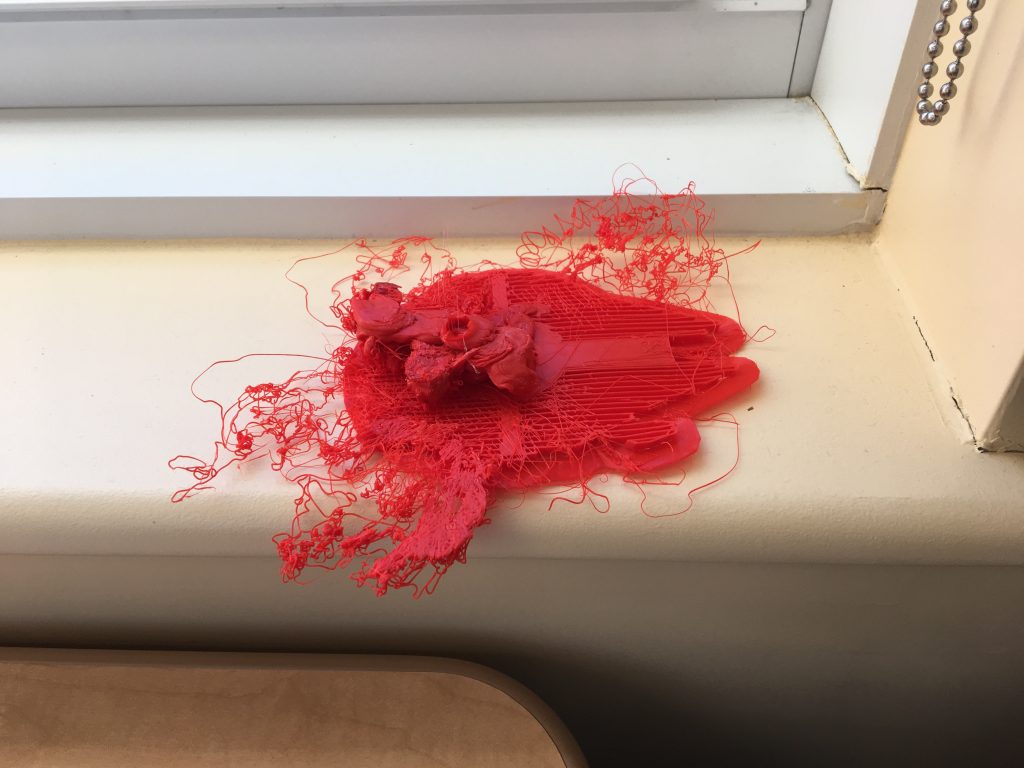
I told the student that the Dark Side of the Force was at work on his failed Star Wars Imperial Destroyer print.
The basic workflow we have used is that students go to thingiverse.com and select a design that is not too complex and that consists of one part. They download the CAD file that describes the object. They next “slice” the file using a free application called Cura (also from Ultimaker), which takes the 3D CAD drawing file and creates a printing directions file for the specific 3D printer. Some students have also learned how to scale the object up or down in Cura.
Students or my parent helper (see below) take the printer file and transfer it to an SD card that can be inserted into the printer. I just purchased a second SD card so we can have one object printing and copy files to there other SD card at the same time.
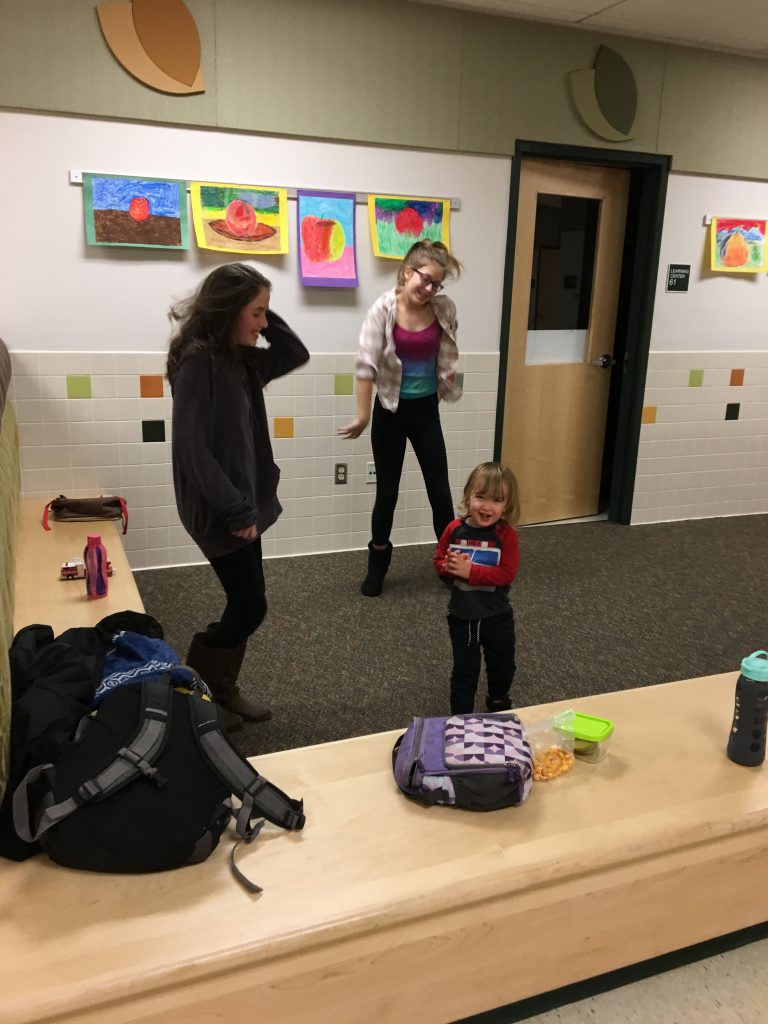
Parent helping students create 3D prints. Two sixth graders babysit this parent’s 2 year old son for an hour during Maker Space. While this may not directly be considered part of Maker Space, in a broader sense it is, because we are giving students experiences with things they are good at and are also personally interested in.
We load up the SD card(s) with files that are ready to print and I then print them during the following week during the day and overnight.
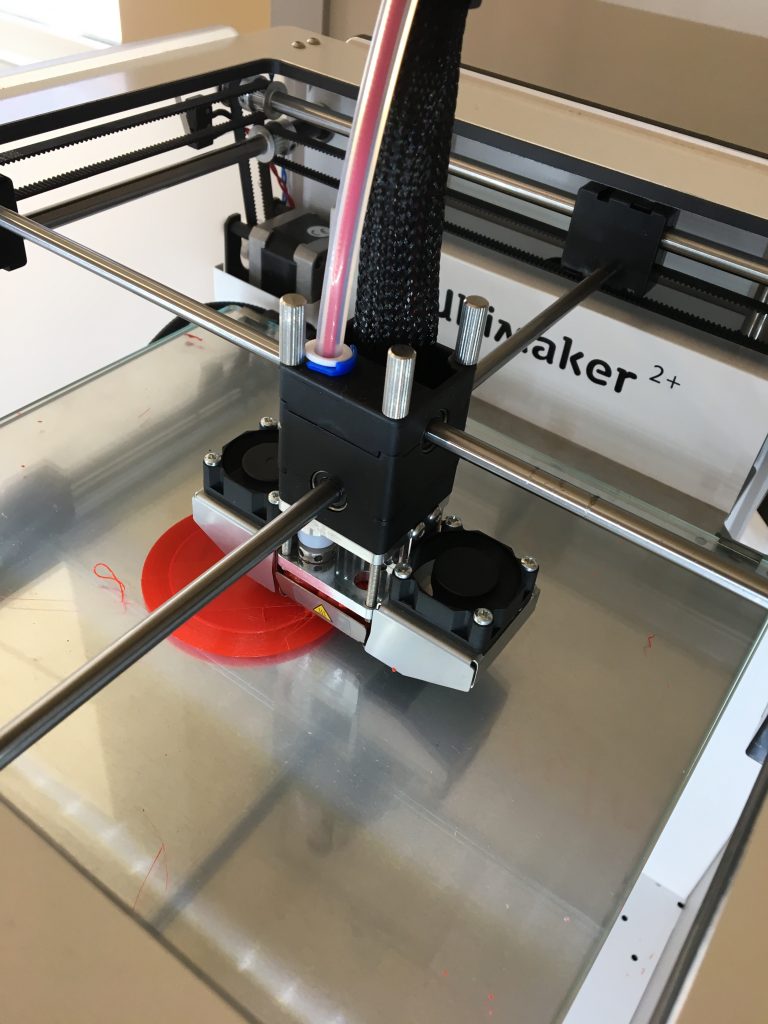
3D printer in action
I wrote up the process directions for older students in 2 versions. One is simple and does not include customizing designs.
3D Printing Directions Simple (PDF)
The other includes making customized items.
3D Printing Directions Full (PDF)
We have created a Google Document to keep track of the 3D prints.
There have been some interesting things happening with 3D printing and students. One of these is a constant parade of students, mostly sixth graders, that continually stop in the tech lab to check on the 3D printer and what it is currently printing. With its open design, it is easy and fascinating to watch the Ultimaker 2+ print. I find myself doing the same thing. Gradually, more and more students have become interested in printing an object they choose. I assume that word gets around when students show their printed objects to other students.
For whatever reason, many of the students that are constantly coming into the lab to check on the 3D printer have learning disabilities of some type. Many of them are also very talented with all things mechanical and many (but not all) also are boys. For whatever reason, these students have been fascinated with 3D printing and I have encouraged their interest. One boy, in particular, I have made my 3D printing helper and he is mastering the process and becoming quite good at helping other students. I think that for students who find traditional schoolwork challenging but have other mechanical and hands-on talents, that opportunities to excel in school with things they are good at is very empowering and positive for them.
The SPED teacher of many of our the “3D printing kids” shared with me that it was hard, at times, to motivate the students during their math class. We decided to try and use their newly found and intense interest in 3D printing to help with their math motivation. Two natural mathematical concepts are great to illustrate with 3D printing. One is scale and the second is x, y, z coordinates. Students came into the lab and we showed how the printer uses x, y, z coordinates to print. We also had students scale some sample objects up and down to get at ratio, scale, and multiplication. This led naturally to measurement as well because Cura shows the dimensions of the current object and you scale by replacing one of the x, y, or z dimension measurements with a new value, which is then scaled proportionally in the other two dimensions.
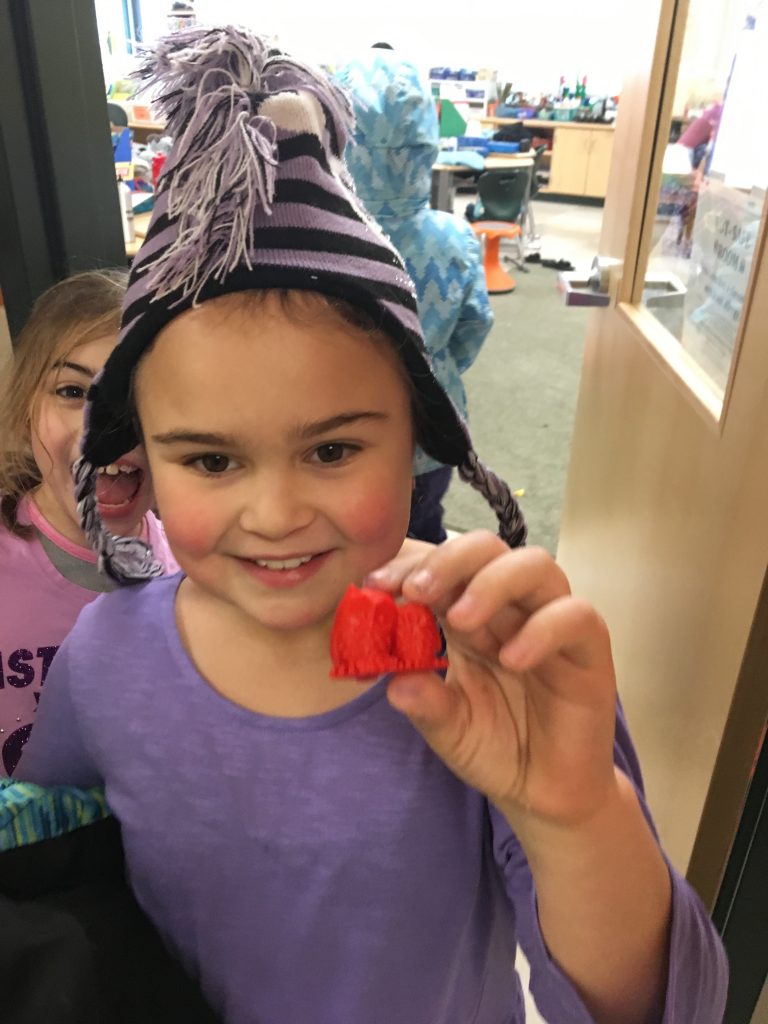
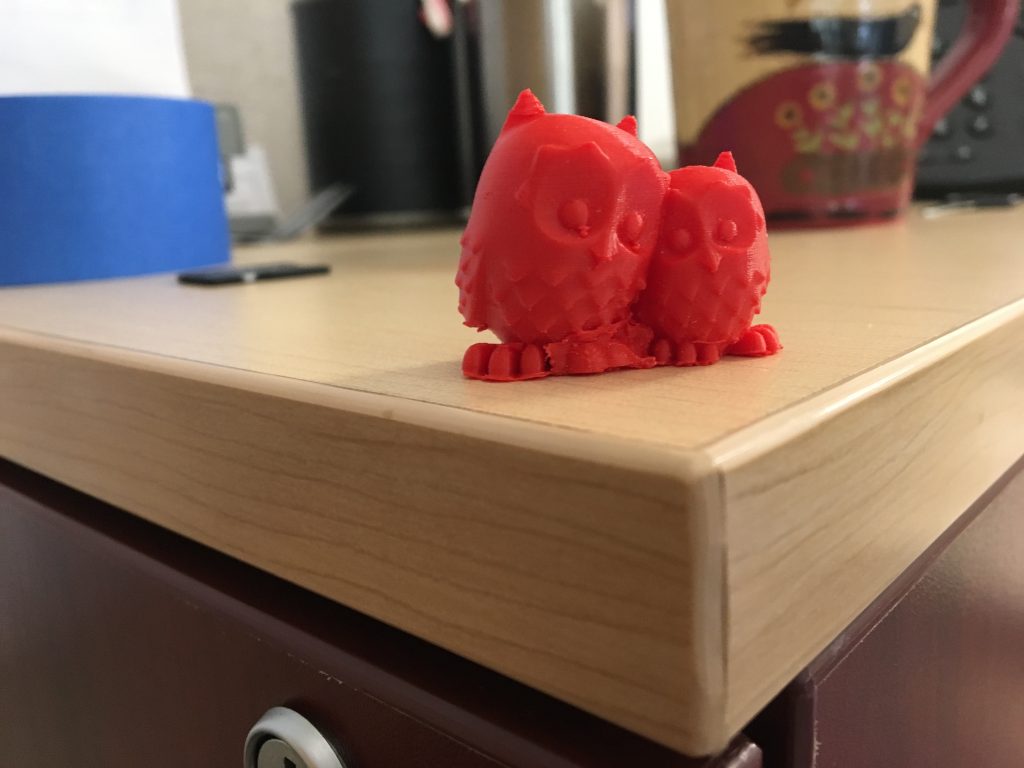
One thing the our Maker Space has really shown me is the importance of and joy in empowering kids to instantiate their own ideas, have a job they are good at, and pursue their own interests. More photos follow of students either using 3D printing or showing some of the objects they have made.
Cool Beans!
Pingback: 3-D Printing | Bricks 4 Kidz - Ireland